

Google Merchant Center helps retailers manage the product information that appears across Google, including Shopping ads and free listings. Today, merchants can add products in several ways, from automatic website sync and ecommerce platform connections to files, Google Sheets, manual entry, and the Merchant API.
In this guide, Mega Digital will explain how Google Merchant Center works, how to set up your account, and how to manage product data using the current Merchant Center interface.
Quick summary:
- Google Merchant Center is free to use, while advertising costs only apply when you run paid campaigns through Google Ads.
- Product information is now managed through Data sources, previously known as Feeds.
- Merchants can add products in multiple ways, including automatic website sync, ecommerce platforms, files, Google Sheets, manual entry, and Merchant API.
- Accurate product data, shipping, returns, and website information are essential for keeping products eligible across Google.
What is Google Merchant Center?
Google Merchant Center (GMC) is an online platform where retailers may post product information for their products to appear in Google search results. This is a must-have tool before running Google Shopping ads.
Note: Except for cost per click, setting up and using Google Merchant Center is free.
Google Merchant account register requirements
Before creating a GMC account, you should have basic details about the Google Merchant Center policy, such as those mentioned below.
- Have a Google account. Create one by visiting https://accounts.google.com/signup
- Only advertise products that customers can be purchased directly.
- Set up official language.
- Make sure your return and refund policy is transparent.
- Verify and claim your website URL.
- Make sure to Follow website requirements.
- Ensure your data meets the data specifications.
- Sign in to the Merchant Center account frequently.
Benefits of using Google Merchant Center
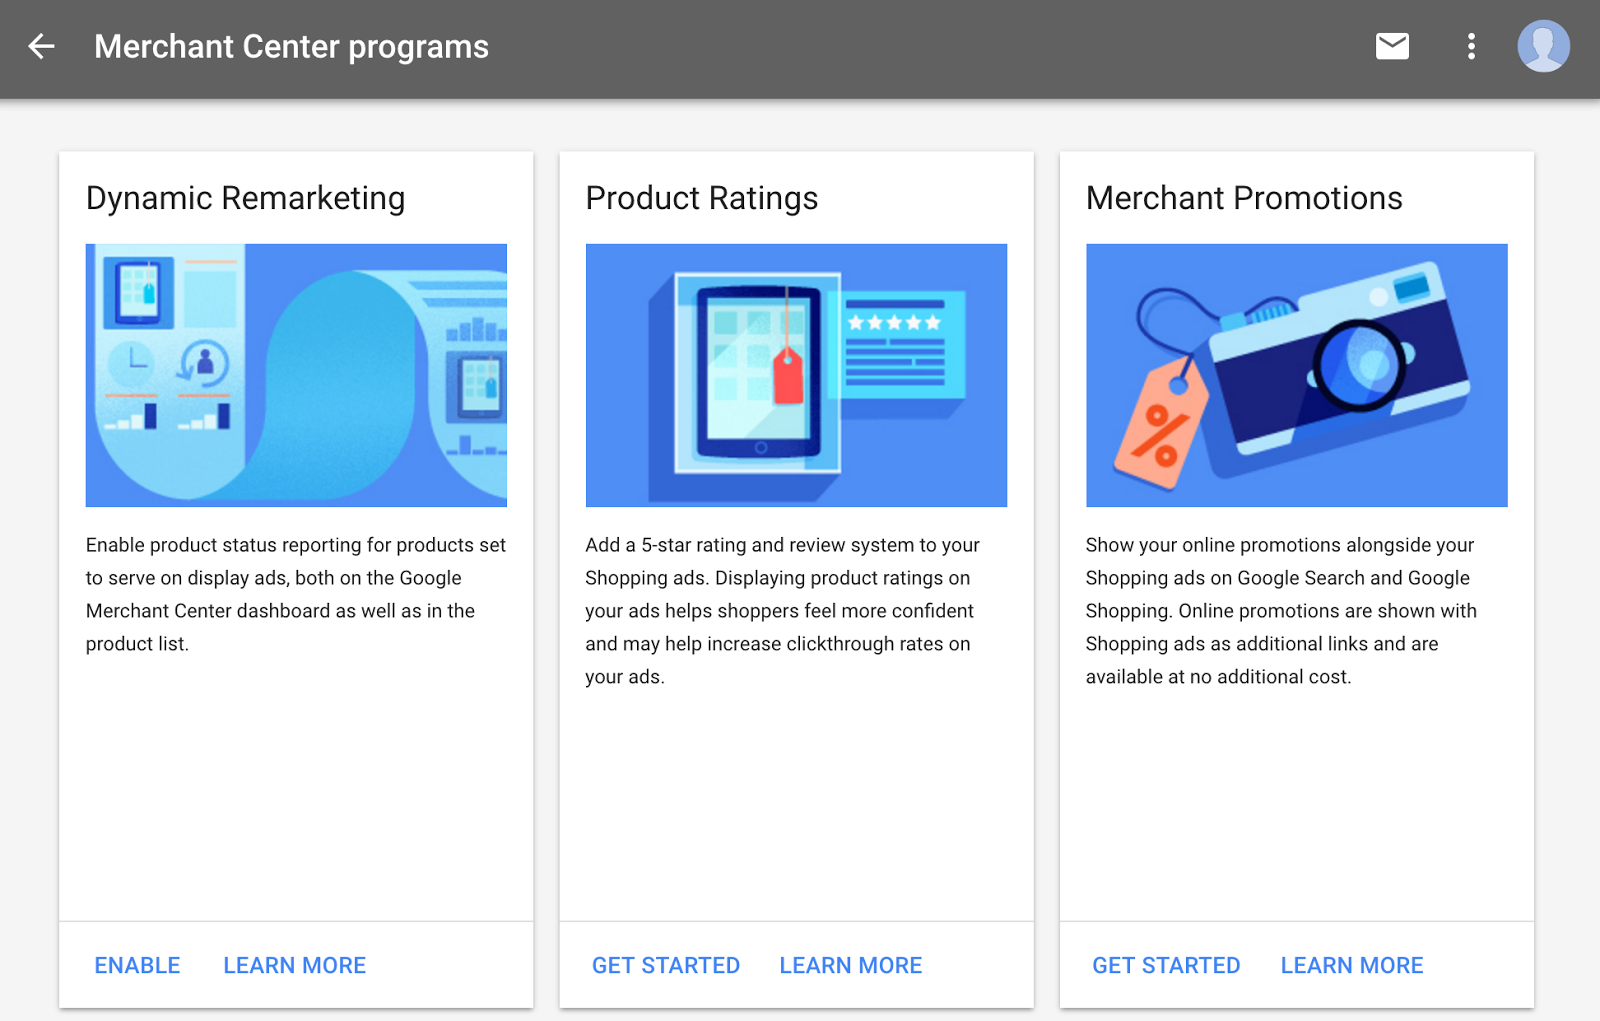
You might be wondering what GMC is used for. Let’s look at this tool’s significant benefits:
- Give businesses the ability to post and update product information, including images and prices, so that it will appear in relevant Google Shopping searches.
- Provide comprehensive monitoring and management over Google-based marketing and e-commerce. Google Merchant Center also interfaces with other Google services, such as Google My Business.
Next, Mega Digital will show you how to create a GMC account and a data feed for your products step-by-step.
What is a Google Merchant Center feed?
A Google Merchant Center feed is a collection of product information that helps Google understand what you sell and display your products across Shopping ads and free listings. In the current Merchant Center interface, Google now refers to feeds as Data sources.
A data source can contain details such as product titles, descriptions, images, prices, availability, brand, GTIN, and other product attributes. Depending on your store setup, product data can come from your website automatically, an ecommerce platform, a file, Google Sheets, manual entry, or the Merchant API.
Product title
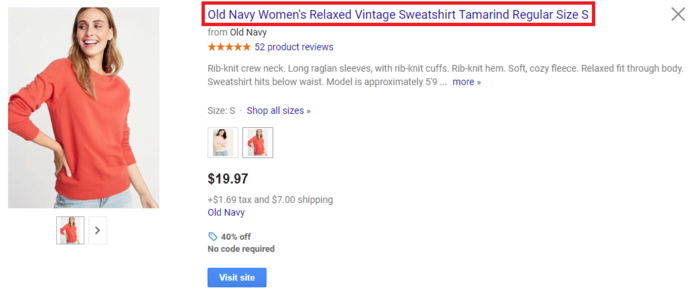
You should focus on your product title when you want to improve your Google Merchant Center feed. Why is it important? Because Google examines the product title first to decide which products match a shopper’s search. If your product title isn’t optimized, it’s unlikely that your product will be shown to people who want to buy it.
Read more: Easy ways for Google Shopping product title Optimization
Product image
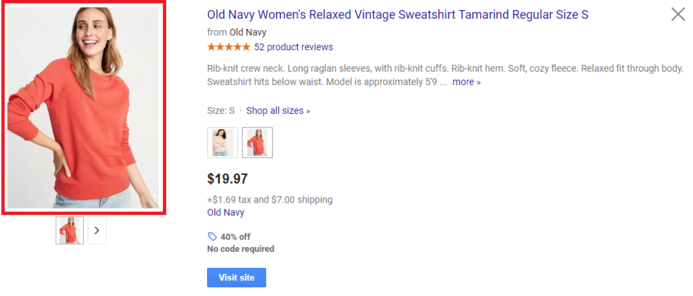
The product image is your product’s picture displayed on the left side of your product title. It is an essential component of your Google Merchant Center feed because People don’t click on ads with poor-quality images. To gain a new customer’s trust, you need to present a good and professional image, as it sets the first impression.
Product category
Google automatically assigns a product category to every item added to Merchant Center. The Google product category [google_product_category] attribute is optional and is mainly used when you need to override Google’s automatic categorization in specific cases.
If you use the attribute, choose the most accurate category available in Google’s taxonomy. Accurate titles, descriptions, GTINs, brands, and other product data also help Google classify products correctly.
For example:
General category: Electronics > Accessories > Bags
More specific category: Electronics > Accessories > Laptop Accessories > Laptop Bags & Cases
The more specific option can give Google clearer context about the product, but you do not need to manually assign a Google product category to every item.
How to set up a Google Merchant Center account
Register a Merchant Center account
Step 1: Create your Merchant Center account
Sign in to Google Merchant Center with your Google account. Complete the initial setup with your business and store information.
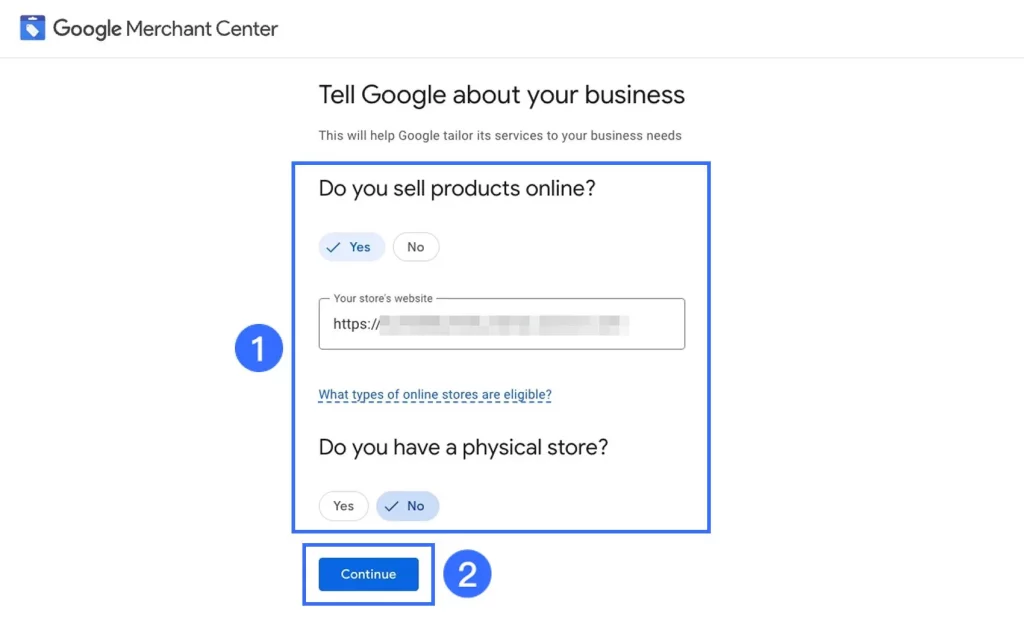
Step 2: Add your business information
Open Settings → Business info and enter your business name, address, and customer service details. Make sure the information matches your actual business.
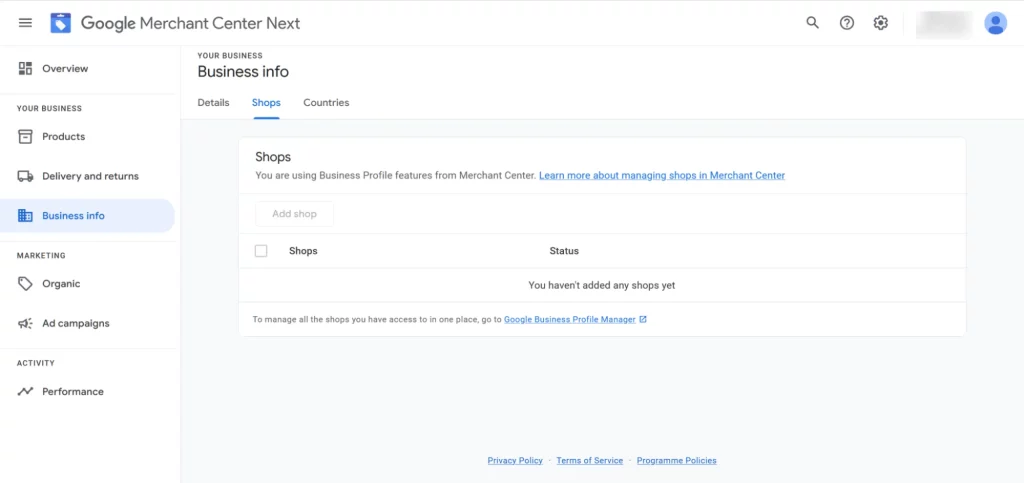
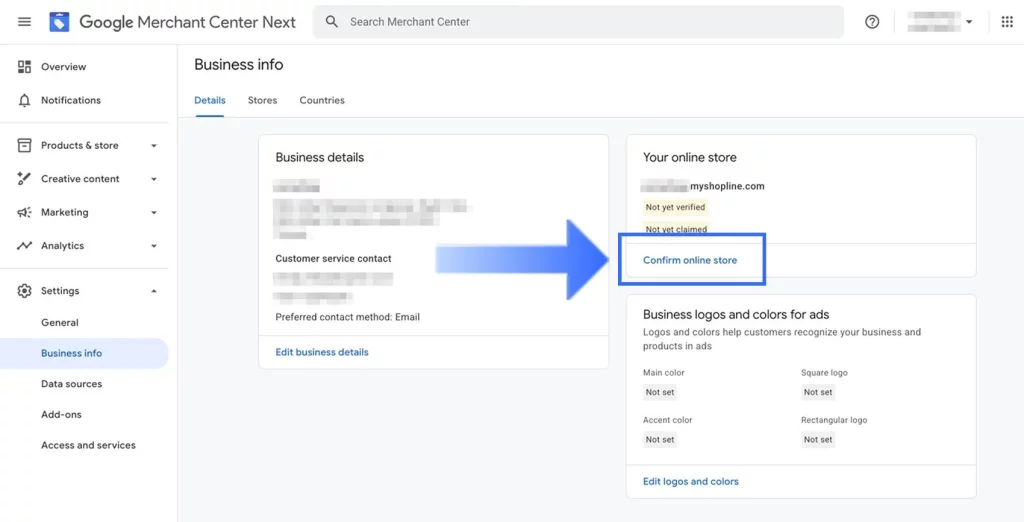
Step 3: Add and verify your website
Under Business info, add your website and complete verification if Google cannot verify it automatically. You can use methods such as your ecommerce platform, HTML tag, Google Tag Manager, or Google Analytics.
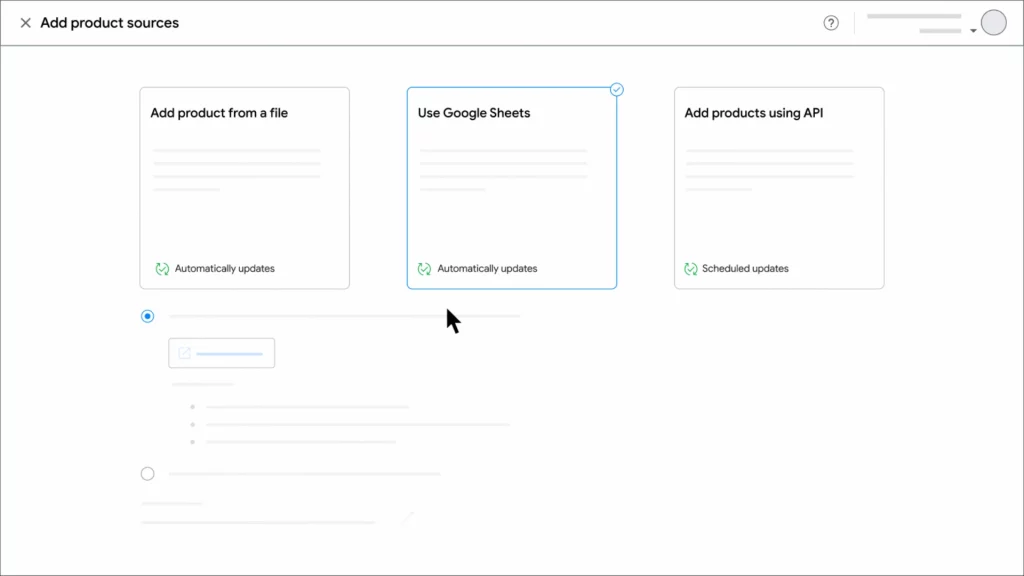
Step 4: Add your products
Open Products & store → Products → Add products. Add products manually or connect a product source such as your website, Google Sheets, a file, ecommerce platform, or Merchant API.
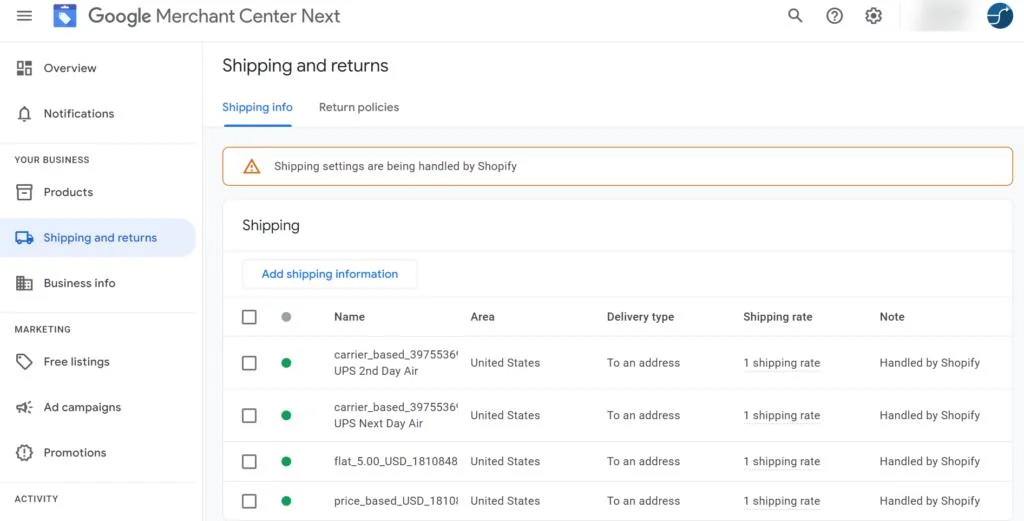
Step 5: Set up shipping and returns
Open Products & store → Shipping and returns and add your shipping costs, delivery times, and return policy. These details should match the information on your website.
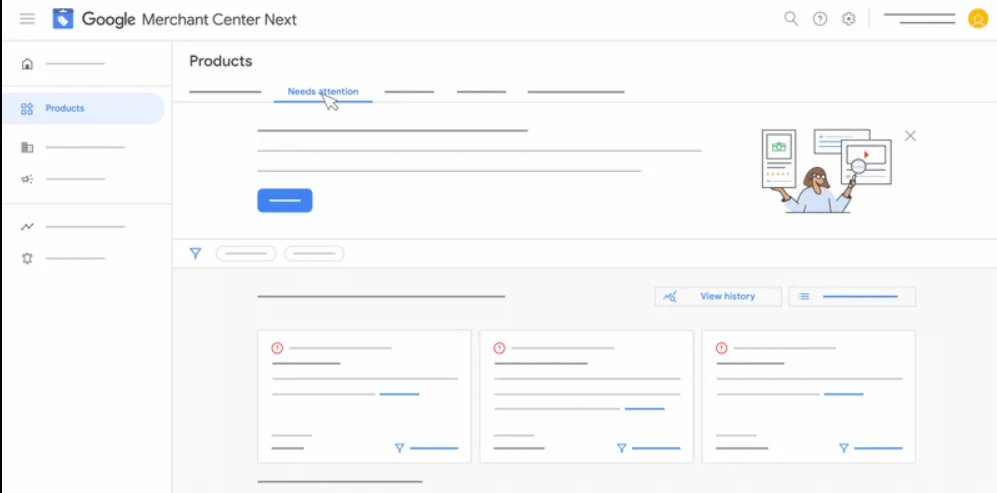
Step 6: Check product issues
Open Products → Needs attention to identify products with missing data, price or availability mismatches, or policy issues. Fix these problems before running Shopping ads.
Set up Shipping and Returns
Merchant Center now manages both settings under Products & store → Shipping and returns. You can create separate shipping and return policies depending on the countries and products you sell.
Shipping
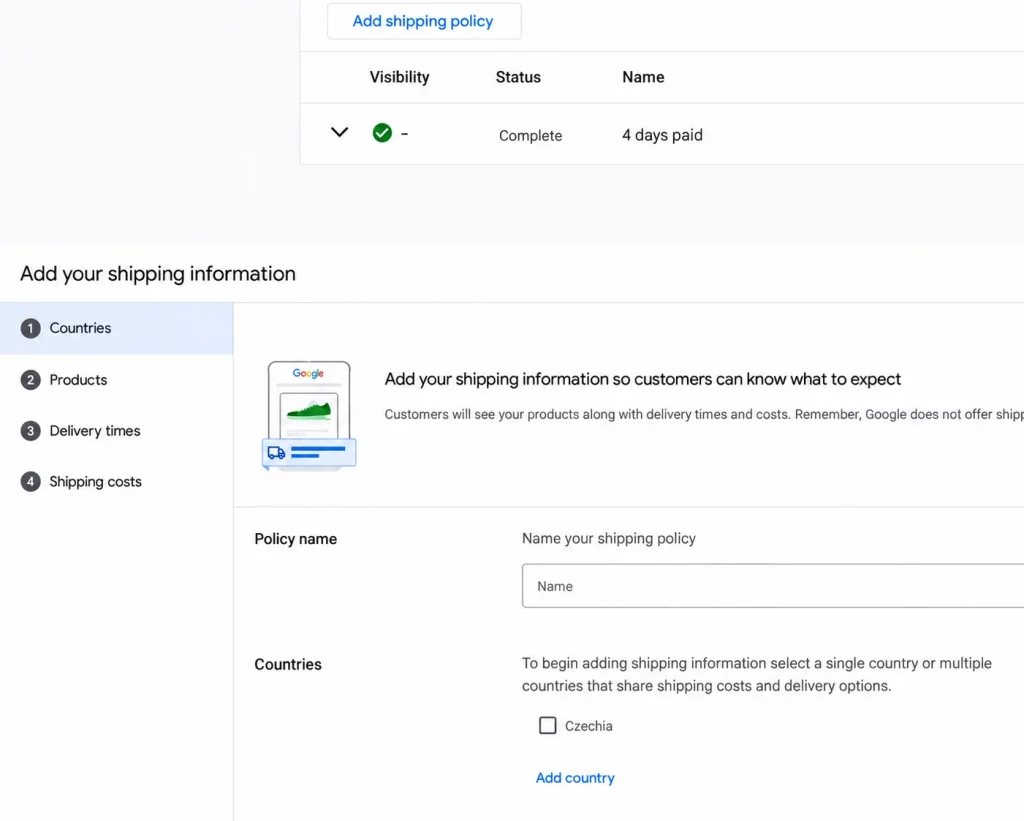
Open the Shipping policies tab and select Add shipping policy. Then set:
- Countries you ship to
- Products covered by the policy
- Delivery times
- Shipping costs or free-shipping conditions
Google also lets you create different policies for specific countries or product groups when needed.
Return policy
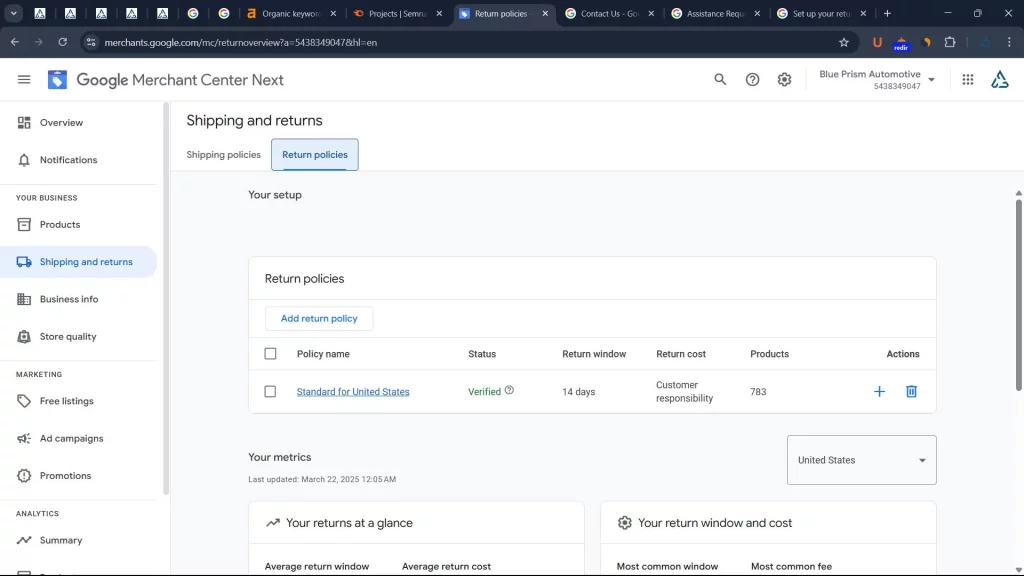
Open the Return policies tab and select Add return policy. Add your return-policy URL, applicable countries, return window, return method, and any return costs or exchanges.
Make sure the information matches the return policy shown on your website.
Add a product data source
Merchant Center gives you several ways to add and manage product information, depending on your catalog size and how often your data changes. Common options include Google Sheets, product files, automatically updated files, and the Merchant API.
Using Google Sheets
Google Sheets is a simple option for smaller catalogs that are updated manually.
Step 1: Open Settings → Data sources → Add product source.
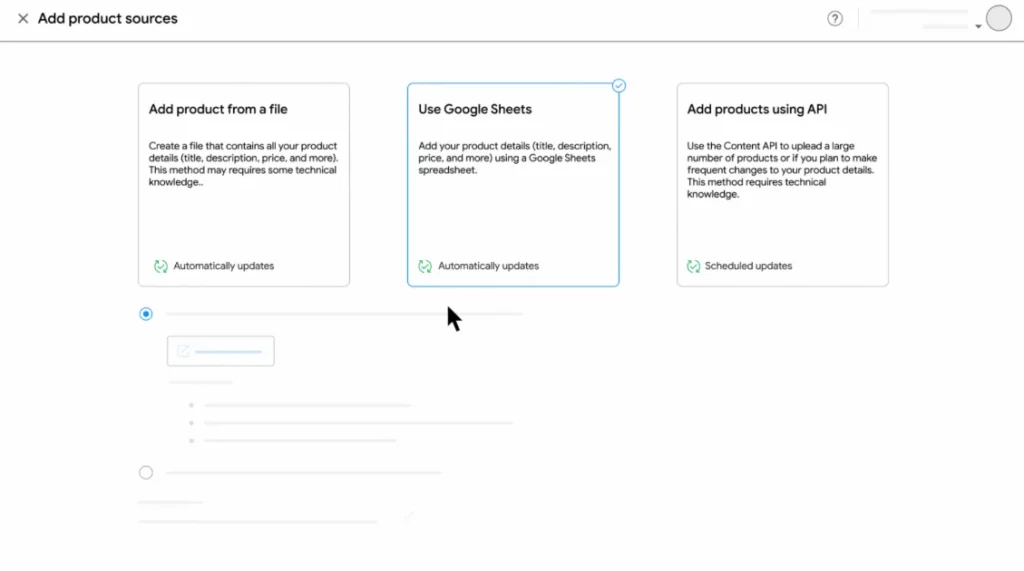
Step 2: Select Google Sheets and connect an existing spreadsheet or use Google’s template.
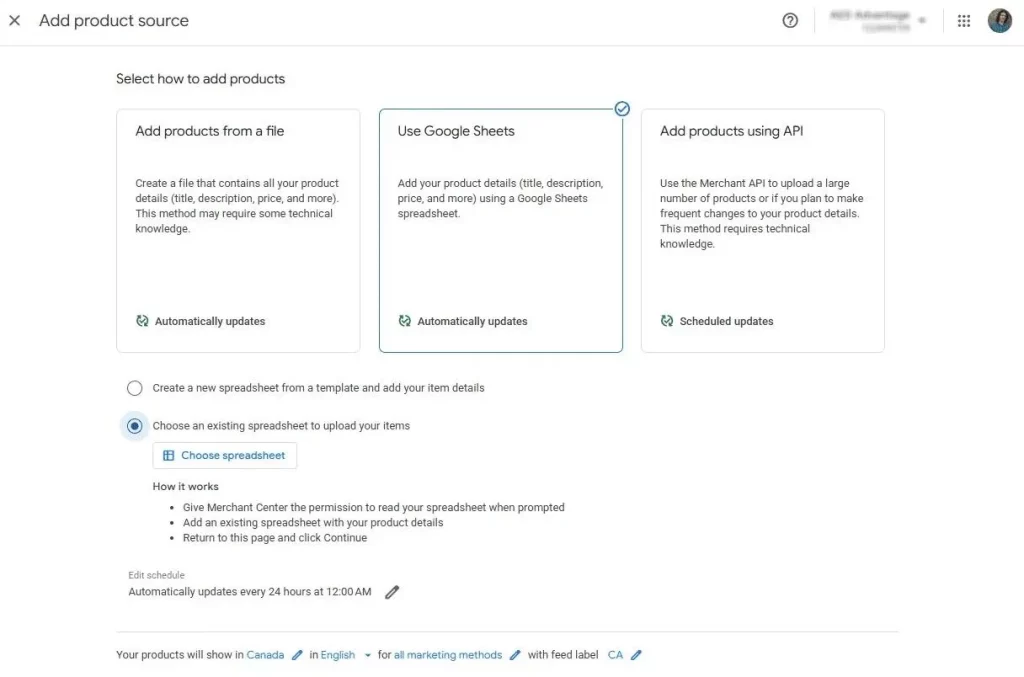
Step 3: Add your product information and set a schedule for Merchant Center to sync the sheet.
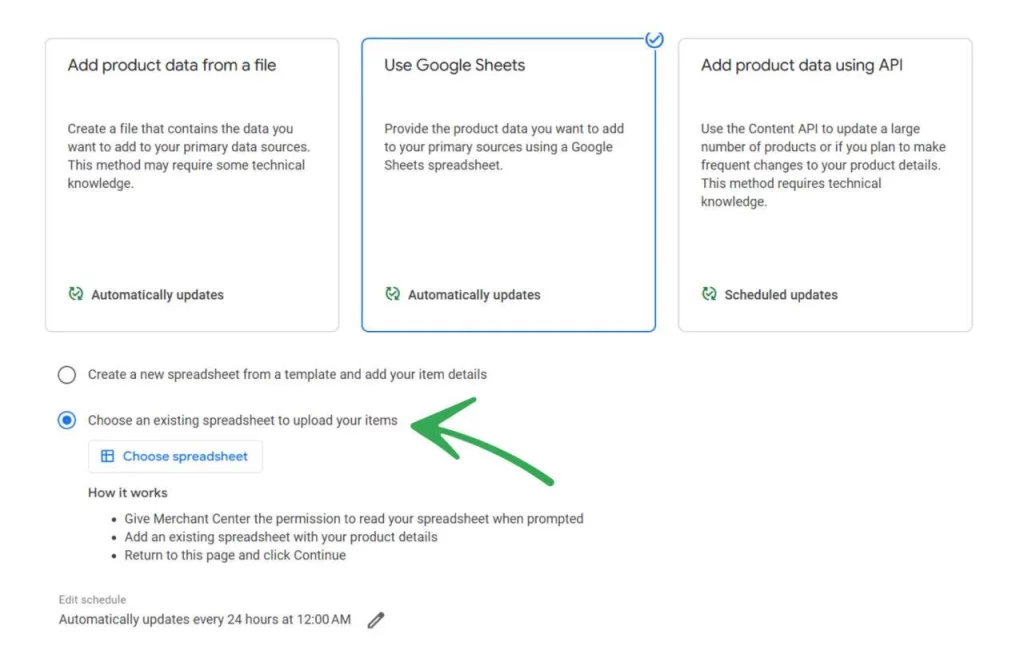
Any changes made in the connected spreadsheet can then be reflected in Merchant Center.
Manually uploading a file
You can also upload a product file directly to Merchant Center.
Step 1: Open Settings → Data sources → Add product source.
Step 2: Select A file, then choose Add products from a file.
Step 3: Upload your .txt, .xml, or .tsv file and complete the setup.
This method works well for catalogs that do not change frequently. Since manually uploaded files do not sync automatically, you will need to upload a new version whenever your product information changes.
Using an automatically updated file
If your product file is hosted online, Merchant Center can retrieve it automatically instead of requiring repeated manual uploads.
Step 1: Select Add products from a file when creating the product source.
Step 2: Enter the direct URL of your product file.
Step 3: Set how often the Merchant Center should retrieve updated data.
Google fetches URL-based files every 24 hours by default, but you can adjust the schedule when needed.
Using the Merchant API
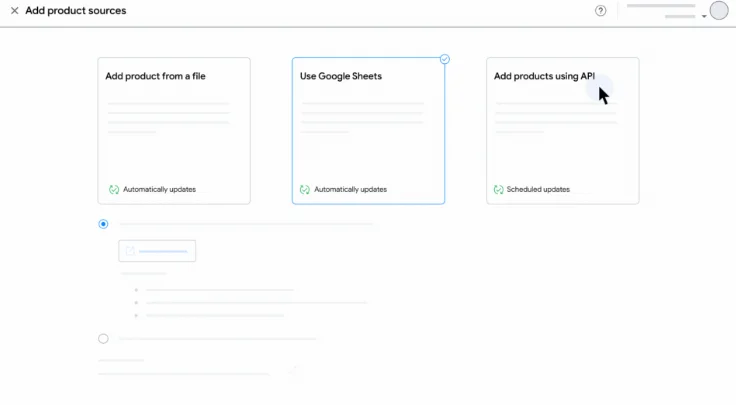
For larger catalogs that require frequent updates to prices, availability, or inventory, the Merchant API provides a more automated way to manage product data.
It is now Google’s main API for Merchant Center product integrations, replacing the former Content API for Shopping.
Add products to Google Merchant Center
Once your Merchant Center account is set up, you can add products directly in Merchant Center or connect a product source. The best method depends on how many products you manage and how often the information changes.
Add products individually
If you only need to add a few products, open:
Products & store → Products → All products → Add products → Add products one-by-one
Enter details such as the product title, description, image, landing page, price, availability, brand, and product identifiers where applicable.
Note: For accounts adding products for the first time, Google may require you to start with a file, Google Sheets, or the Merchant API instead of the product editor.
Add multiple products with Google Sheets
For a larger catalog, open:
Settings → Data sources → Add product source → Google Sheets
You can use Google’s generated template or connect an existing spreadsheet containing your product data. Once connected, Merchant Center can use the Sheet as a product data source and keep it updated according to your sync settings.
Connect GMC with a Google Ads account
You need to link Merchant Center and Google Ads before using your Merchant Center product data in Shopping campaigns.
Option 1: Link an existing Google Ads account
- Go to: Settings → Access and services → Apps and services → Add service → Google Ads
- Select the Google Ads account you want to connect and complete the linking process.
Option 2: Create a new Google Ads account
- From the same Apps and services section, select Google Ads, choose New account, then follow the setup steps.
- If the Google Ads account belongs to another user or agency, you can send a linking request using its Google Ads customer ID.
FAQs about Google Merchant Center
Yes. Google Merchant Center itself is free to use. You only pay advertising costs when you choose to run paid campaigns through Google Ads.
Not always. Google now supports several data sources, including automatic website sync, ecommerce integrations, files, Google Sheets, manual entry, and Merchant API.
No. Merchant Center can support free product listings without Google Ads. However, you need to link a Google Ads account if you want to run Shopping or other paid campaigns using Merchant Center product data.
Products may require attention because of missing or inaccurate attributes, price or availability mismatches, website issues, or policy violations. Check the Products section in Merchant Center to identify and fix the specific issue.
Wrap up
Mega Digital hopes this article has provided advertisers with enough information about Google Merchant Center and a clear walkthrough of how you can produce to your account. If you have difficulties creating this storage platform, connect with Mega Digital to have your GMC account set up for you!