Tired of posting manually every day just to keep your page alive? You’re not alone! Most Facebook users search for scheduling tips to save time and stay consistent. This guide will show you simple ways to schedule Facebook posts, plus answers to your most common questions when scheduling!
Things to Consider Before Scheduling a Facebook Post
Before you hit “Schedule”, take a few extra minutes to review your post with a strategic lens. Here are five key things to check first:
1. Double-Check Timing With Your Content Calendar
Even if your post is great, poor timing can hurt its performance. Look at your content calendar and make sure the scheduled post doesn’t:
- Overlap with other campaigns going live around the same time
- Compete with a major announcement or product launch
- Interrupt the momentum of a high-performing post that’s still getting attention
Give each post enough breathing room to get the visibility it deserves.
2. Review Post Relevance At Future Time
Scheduling posts in advance is smart only if the content still makes sense when it goes live. What feels fresh today might feel stale or outdated by the time it shows up in your followers’ feeds.
If your post relies on fast-changing trends, news updates, or time-sensitive promotions, ask yourself: “Will this still be relevant next week?” before locking in a date.
3. Check If Meta Will Auto-Publish Across Platforms
If you’re scheduling through Meta Business Suite and plan to cross-post on Facebook and Instagram, check that your content is suitable for both.
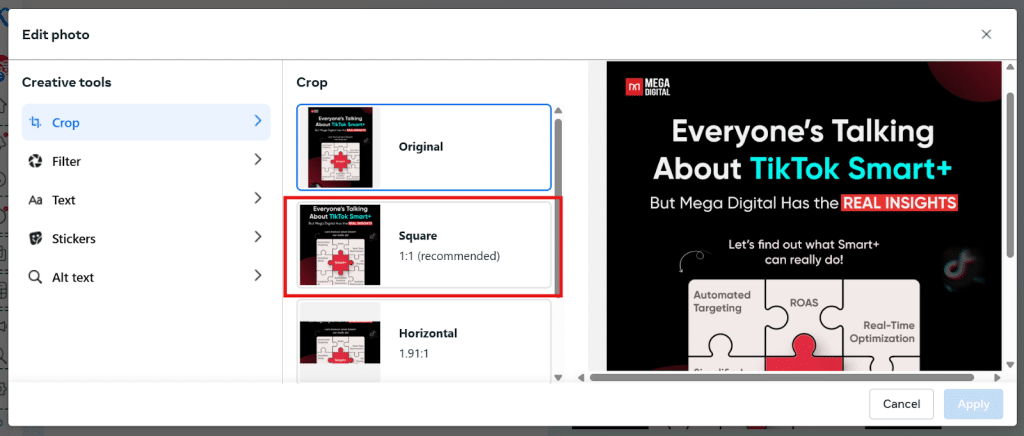
Hashtags, formatting, image ratios, and even tone may need slight adjustments to work well across platforms. What works for Facebook, for example, 1×1 image ratio, might not translate directly to Instagram, a 4×5 ratio.
4. Pre-check How It Will Appear in Feeds
Before scheduling, preview your post on both mobile and desktop to make sure everything looks clean, balanced, and easy to read. Watch out for:
- Long captions that push visuals too far down in mobile feeds
- Carousels or vertical images that crop awkwardly in desktop or mobile view
- Text overlays on images that might clash with Facebook’s background or be unreadable on mobile
- Line breaks or emoji-heavy formatting that clutter the layout
- Long captions make your background-to-text post disappear
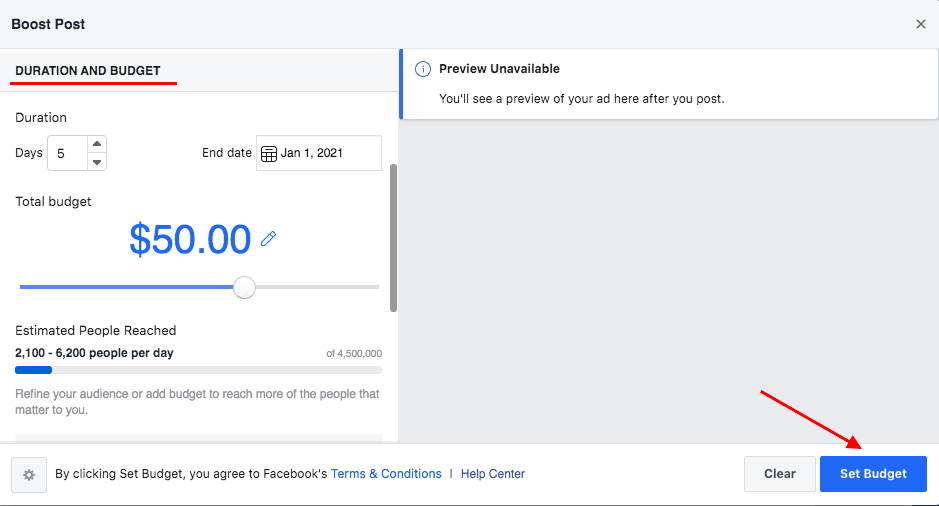
5. Make Sure the Ad/Boosting Strategy Is In Sync
If you want to boost a post on Facebook, make sure to:
- Prepare UTM tracking links to monitor results
- Get promo codes or landing pages ready ahead of time
- Set reminders to manually boost or confirm automation if available
- Being proactive with your paid strategy ensures your scheduled post is ready to support your larger marketing goals.
How to Schedule Facebook Posts?
There are two main ways to schedule a Facebook post: using the Meta Business Suite on desktop or the Facebook mobile app. Here’s how to do both:
1. Scheduling Facebook Posts Using Meta Business Suite (Desktop)
This is the most efficient method, especially if you’re managing multiple posts or pages. Follow these steps:
Step 1: Log in to your Facebook account.
Click your profile photo in the top right corner and select “See all profiles.” Choose the Page you want to manage.
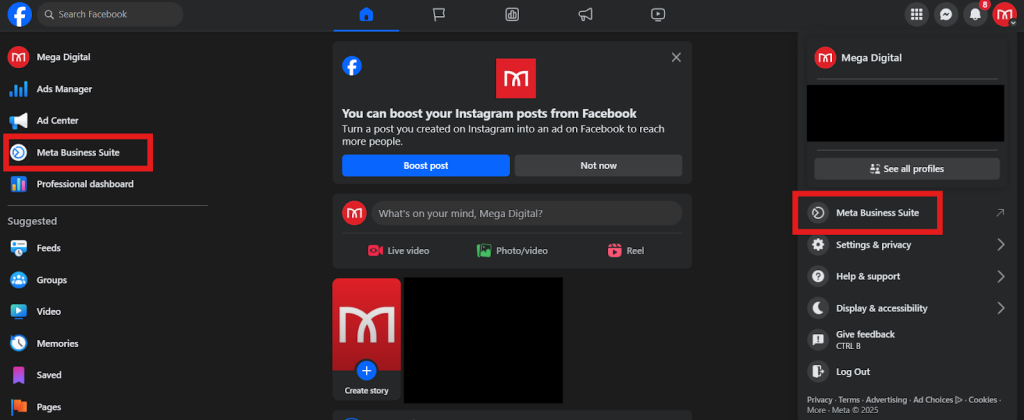
Step 2: Access Meta Business Suite.
Click your Page’s profile picture again, then click Meta Business Suite.
Step 3: Open the Planner.
In the left-hand menu, click Planner.
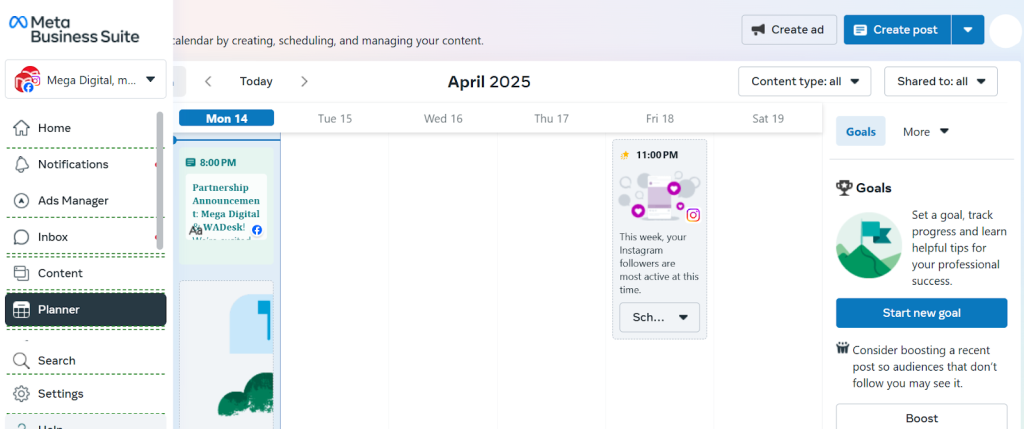
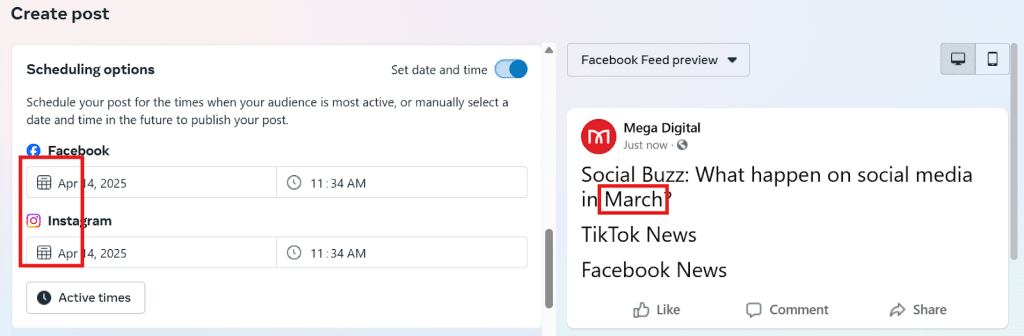
Step 4: Begin scheduling.
Click Create post in the top right corner, scroll down, and then turn on Set date and time to start scheduling. Select when you want your post to go live. Facebook also shows recommended active times based on your audience.
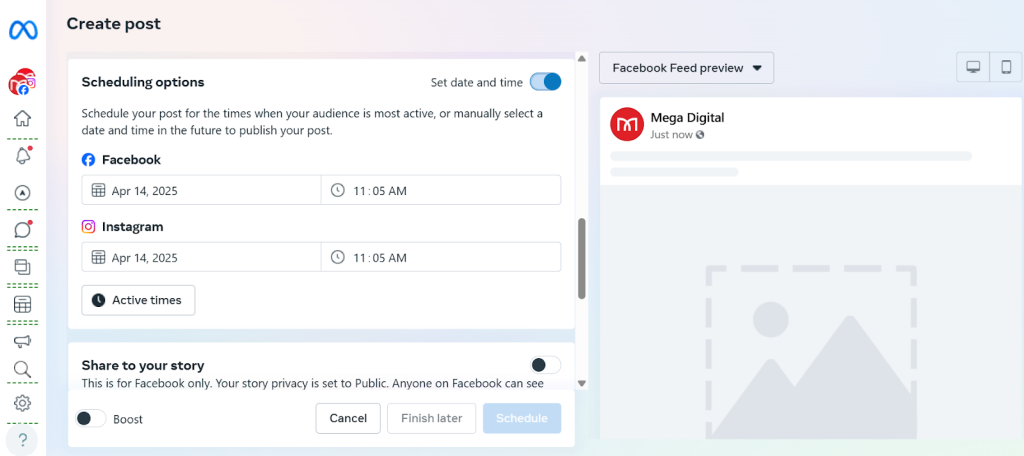
Step 5: Create your post.
Add your caption, image or video, link, and CTA.
Step 6: Finalize your post.
Click “Schedule post” in the bottom right. Done!
2. Scheduling Facebook Posts Using Meta Business Suite App (Mobile)
To schedule Facebook posts from a mobile device, you’ll need the Meta Business Suite app, not the regular Facebook app. Here’s how:
Step 1: Install the Meta Business Suite app and log in.
Choose the Page you want to post to.
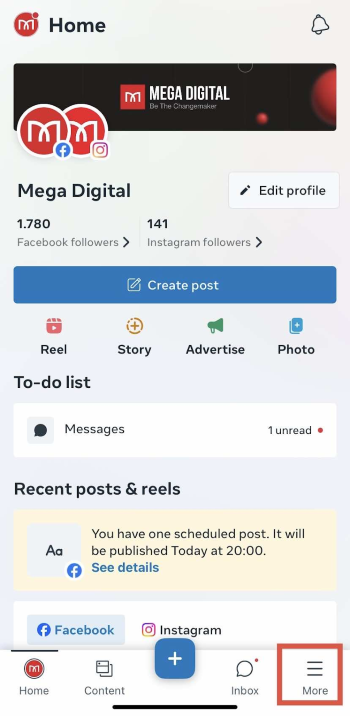
Step 2: Tap More (≡) and you will see Planner on the menu. It will lead you to a calendar where you can schedule by clicking “Tap to Create” or “Create post”.
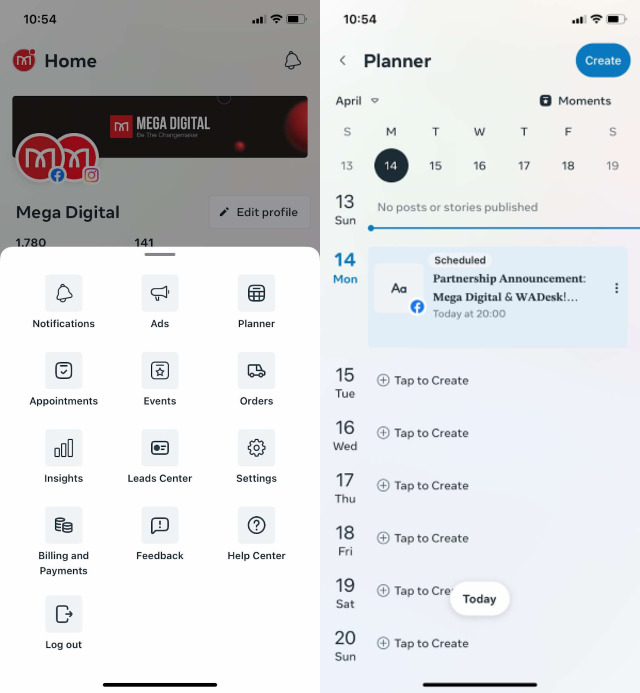
Step 3: Create your posts.
You can include text, images, links, or videos. If you’re also posting to Instagram, include media, as Instagram doesn’t support text-only posts. Choose whether to publish to Facebook, Instagram, or both. Tap Next to proceed.
Step 4: Tap “Schedule for [date & time]”
Pick the date and time you want the post to go live, then tap Schedule to confirm.
How to Find and Manage Scheduled Facebook Posts
After scheduling a post, you might need to go back and make changes. So here is how to find and manage your scheduled Facebook posts using Meta Business Suite:
Step 1: Select the Page you want to manage and open the Meta Business Suite.
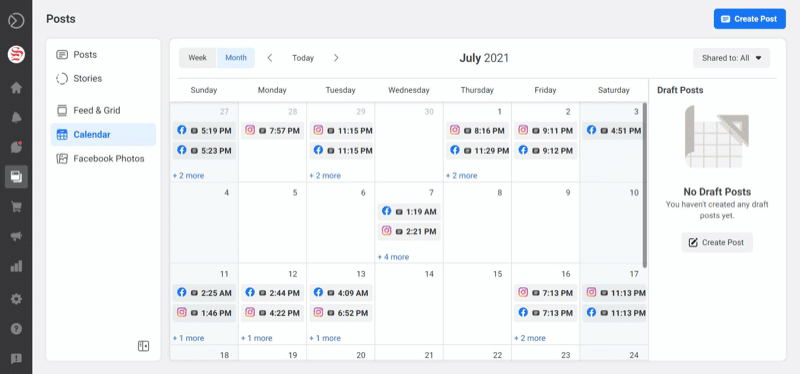
Step 2: In the left menu, click on the Planner option.
Here, you will get a content calendar for all your past and future scheduled posts. You can switch between Week and Month views at the top left.
Step 3: Click on the scheduled post you want to manage.
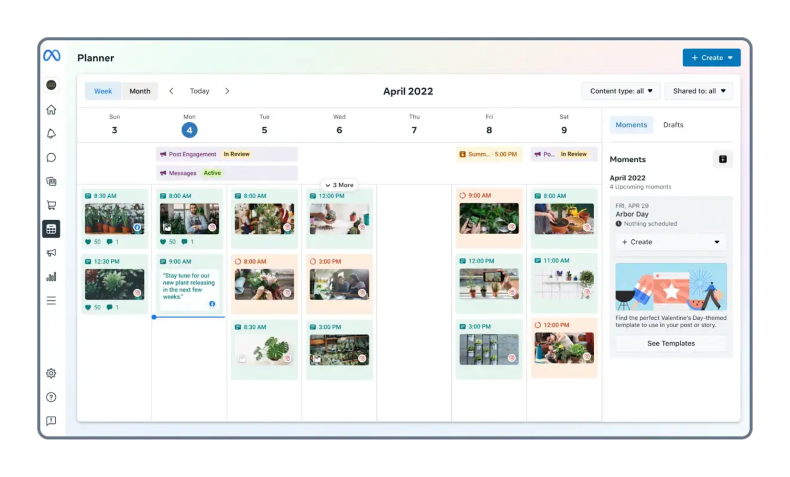
Once selected, click Options to view your available actions:
- Edit post: Change the text, media, link, or location of your post.
- Duplicate post: Create a copy of the post as a new draft.
- Reschedule post: Choose a new date and time for publishing.
- Move to drafts: Cancel the scheduled time and save the post for later.
- Delete post: Permanently remove the post from your schedule.
Frequently Asked Questions About Scheduling Facebook Posts
Scheduling posts is a powerful feature, but many users still have questions about how it works and what limitations exist. Here are answers to some of the most common questions:
1. Can I schedule Facebook posts on a personal profile?
You cannot schedule posts for a personal profile on Facebook. Post scheduling is available for Pages and Groups only. If you are trying to schedule things, set up a Facebook Page, or use Meta Business Suite with a business account.
>>> Read more: How to Create a Facebook Business Page and Boost Your Brand
2. How far in advance can I schedule a Facebook post?
You can schedule a Facebook post from 20 minutes up to 29 days in advance using Meta Business Suite. This gives you plenty of time to plan your content calendar and stay consistent without having to post manually each day.
3. Do scheduled posts on Facebook perform worse than real-time posts?
Facebook’s algorithm doesn’t penalize posts scheduled for publication. Posting at specific times for maximum audience engagement could even result in better performance. Content quality is what determines performance; it’s not about how or when you publish it.
>>> Read more: How To Get More Likes On Facebook Page: Top 20 Strategies!
Wrap Up
Learning how to schedule Facebook post content effectively can save you time, reduce stress, and keep your page consistently active. With Meta Business Suite, you can stay ahead of your content calendar and focus more on engaging your audience. Now that you know the steps and best practices, it’s time to start scheduling!